
 This year Simon requested a Pokemon costume, specifically a Bulbasaur. I was glad his costume was going to be made of cloth, since his brother’s costume required no tailoring. I really look forward to Halloween as a time to release my inner seamstress.
I went to the fabric store with a picture of a Bulbasaur, and I got some material to build the costume. I chose a lightweight flannel that seemed to be reversible. That way I wouldn’t get stuck cutting something out the wrong way round. It was the perfect aqua-green color, and Simon could have fuzzy comfort.
 I chose fairly accurate colors for the body and spots, but I went for a more organic-looking material for the bulb. Something a little less GREEN. I also got some dark brown corduroy because I was hoping to make the bulb a functional backpack, which required a dark liner.
The costume was going to consist of four main elements: a shirt and pants with the proper color and markings, a hat that would be the Bulbasaur’s head, and a bulb on the back. I also got some armature wire and two small LED flashlights to build some lighted Attack Vines, but I marked that as a stretch goal. I like to incorporate lights into the kids costumes to help with Halloween safety, but I knew that the Attack Vines would stick out awkwardly.
I try to build Simon’s costumes as much like normal clothing as possible. He has to wear that stuff all day, and there have been a few costumes that he’s worn throughout the year. I think kids have to be a bit older to be willing to put up with a bulky uncomfortable costume.
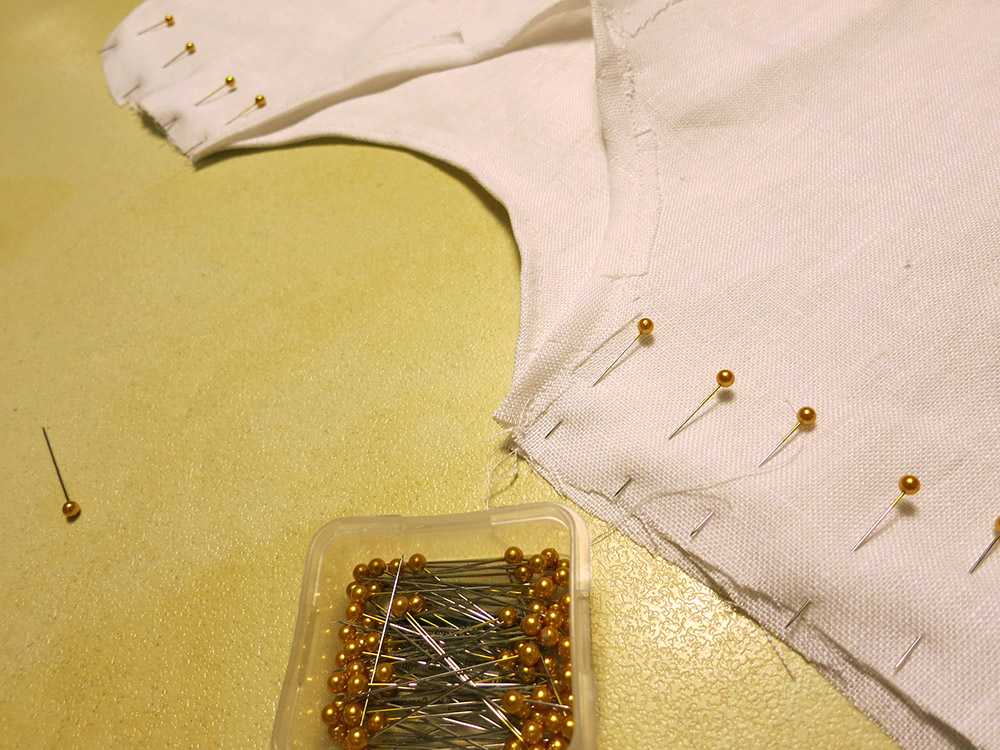
This year I spent most of my time on his brother’s very complex Halo Master Chef costume, so I had to be able to make Simon’s costume fairly quickly. I spent two full days building his costume. On the first day, I built the shirt and pants. I just snagged one of his current shirts and a pair of pants to use as basic patterns. I used felt to add the Bulbasaur markings because that way I didn’t have to deal with hemming the edges.
 When I was making the toes for the pants, I realized I hadn’t brought any polyester fiber fill. I wasn’t going to waste an hour going to the fabric store to get some, so I just used my scissors to cut up some shreddies of material to fill the toes. It wasn’t as even as fiber fill, but the toes are small enough that it didn’t really matter.
When I got home, I had Simon try on the pants and shirt. To my horror, the pants were somewhat tight. I ended up adding a small panel at the side to make them a bit bigger. He loved the feel of the fuzzy flannel and really snuggled into the new outfit.


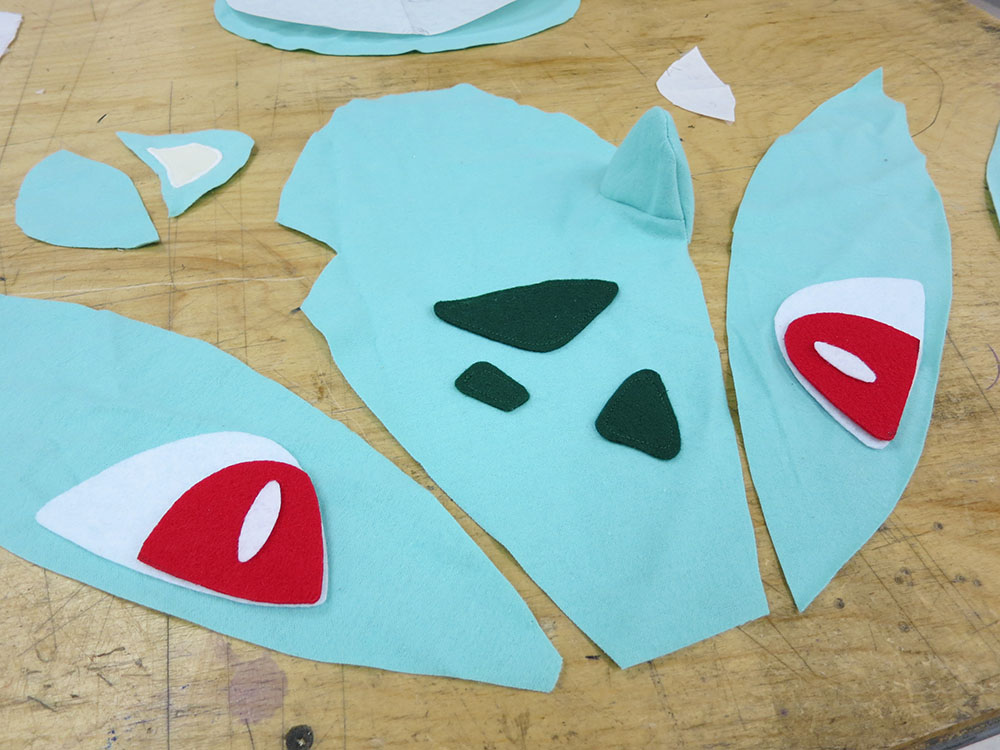
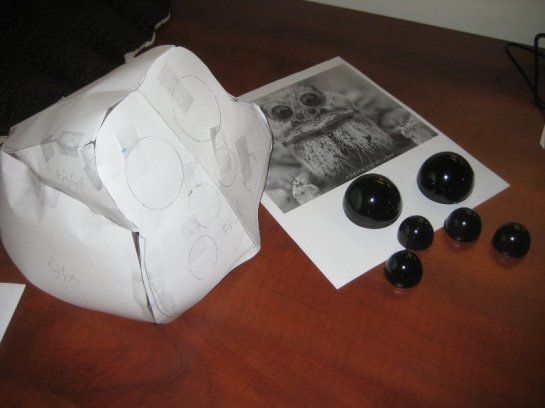
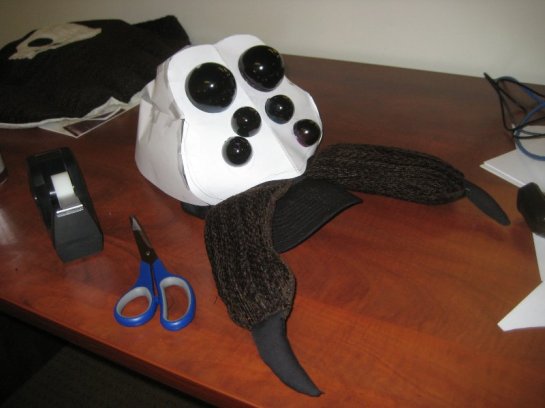
On the second day, I had to build the hat and bulb. I had gotten a black baseball cap and some kid’s backpacks from the Goodwill. I always use an actual hat as the base for these kinds of head-hats because they already have a nice adjustment mechanism built in. I spent a few hours fine tuning the pattern for the head. I went through several yards of butcher paper and a bunch of tape testing various shapes. Finally, I got something that wasn’t too complicated but seemed to capture the shape of a Bulbasaur head. I was pleased with the results.
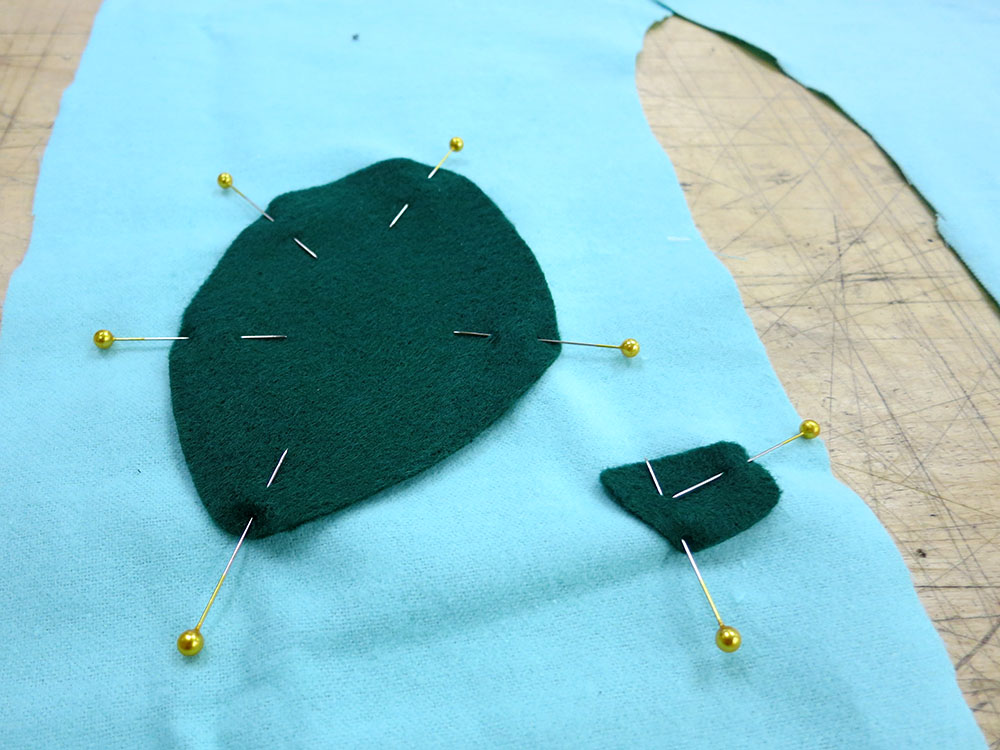
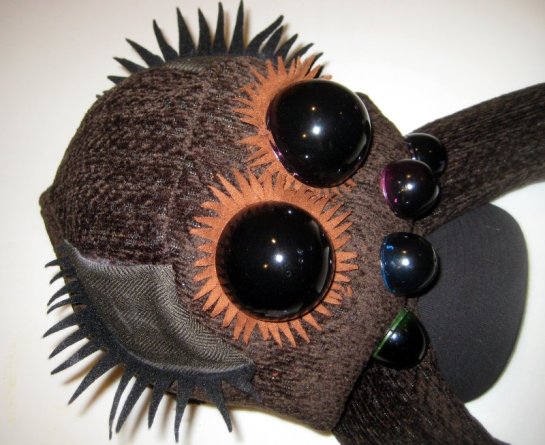
 Actual Bulbasaurs don’t have a different inner ear color, but I added a cream triangle inside the ear to make the ears stand out and be a bit cuter. I used a very tight zig zag stitch to sort of embroider a wide line around the ear inserts, which was necessary because I didn’t have felt for that and I needed something to hem the cut edges of the cloth. I also thought it looked more cartoon-like than folding under the edges.
 I used the same system to put the dark green lines around the eyes. That was a bit hair-raising because at those slow feeds it’s easy to have the boarder bog down and drift away from the edge. I only had one shot. The second eye border came out better than the first.
I also used that same stitch to do the nostrils. Bulbasaurs have dark lines for eyebrows as well, but I decided there was much too high a chance of screwing up his expression free-handing on some eyebrows with no good way to undo them. I did not want to end up with an angry-looking Bulbasaur.
 I put the pieces together and sewed it onto the hat. Then I stuffed and shaped it with fiber fill. I was really pleased with the way the hat came out. One of the TechShop employees even recognized it as a Bulbasaur, so I knew I was in the zone. Much better than “that frog thing.”
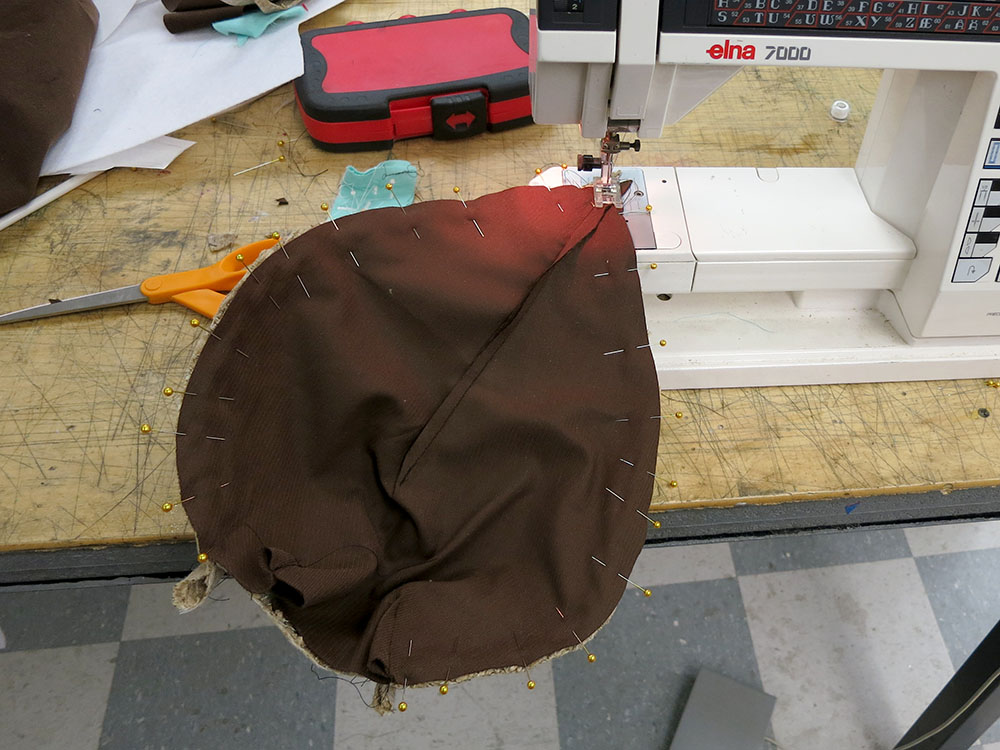
It was getting late, and I still needed to build the bulb. I made a paper “petal” and figured out what sort of tucks would give it the shape I wanted. I decided a 5-sided design would look nice and wouldn’t drive me completely crazy sewing up. I also thought 4 sides could form a bottom and 1 side to be sort of act as the top flap for the “functional backpack” goal.
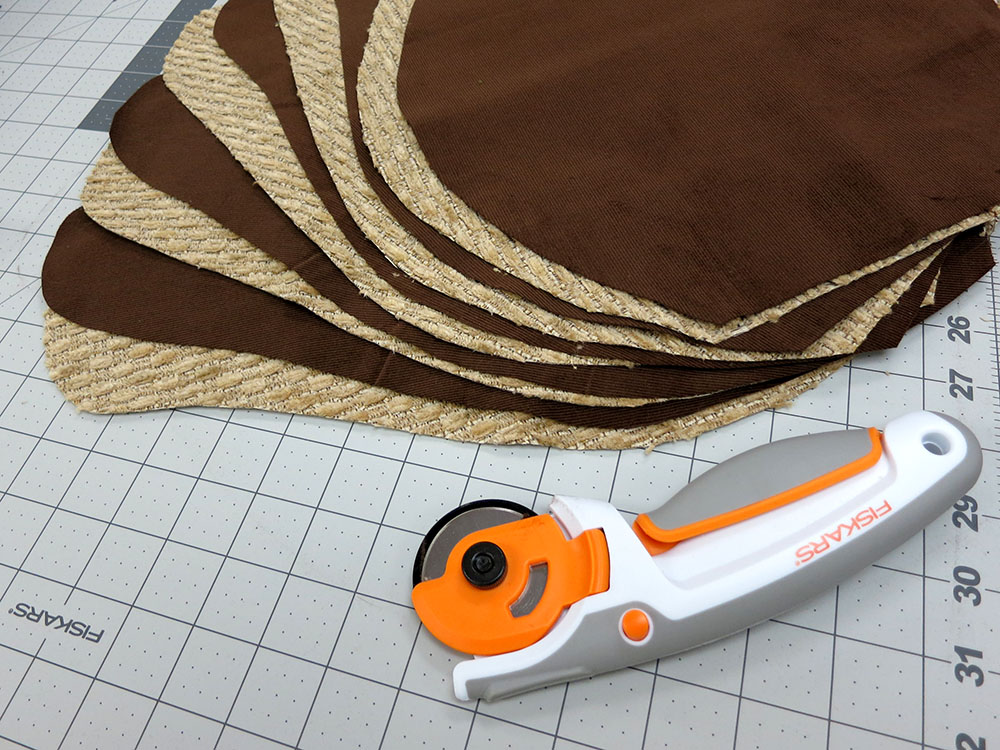 I cut out all 10 pieces and sewed them together. Weirdly the petals made wonderful looking ears. If I’d been working on some other costume that needed big donkey ears, I’d have been all set! Then I stitched the 5 petals together in an overlapping 5-sided ring, with the dark brown liner parts visible at each seam to add detail. Then I started looking at attaching this to one of the backpacks I’d purchased. I decided that I really didn’t want to do that. It was just too ugly to have those straps over his shoulders. So I instead sewed on a pentagonal base using my dark liner material.


I figured I could add a zipper and use that to attach and remove the bulb from the shirt. Much nicer looking than straps, but he wouldn’t be able to cary much of a load in his bulb. I’d have to add the zipper later because it was late and all the sewing stores were closed. I ended up adding the zipper on the night before Halloween. I also put a beach ball inside the bulb to keep it fluffed up with minimum extra weight. I oriented the ball so the green part was the only part visible through the opening in the petals. It actually looked pretty good.
I made a mistake deciding to use a dab of hot glue at the end of the cut zipper to act as a stop to prevent the slider from coming off. This seemed like a better idea than just a big glob of stitches or something, but it was a fail. For one thing, the slider sometimes stuck against the glob, and at some point during his day at school, the bulb zipper slide fell off and got lost. Oops. I’ll have to go get another donor zipper, and Simon had to go without his bulb for actual trick or treating. Oh well. Slight fail, but I doubt he would have kept that thing on all night anyway.
 During his day at school, Simon ripped the crotch out of his pants, but I was able to sew them back together for trick or treating. A seven year old can really do a number on slightly tight pants. I guess I should have used some sort of stronger double seam for the crotch, but I don’t really know what kind is best, and I hadn’t had problems there in previous years. That lightweight flannel just wasn’t super strong.
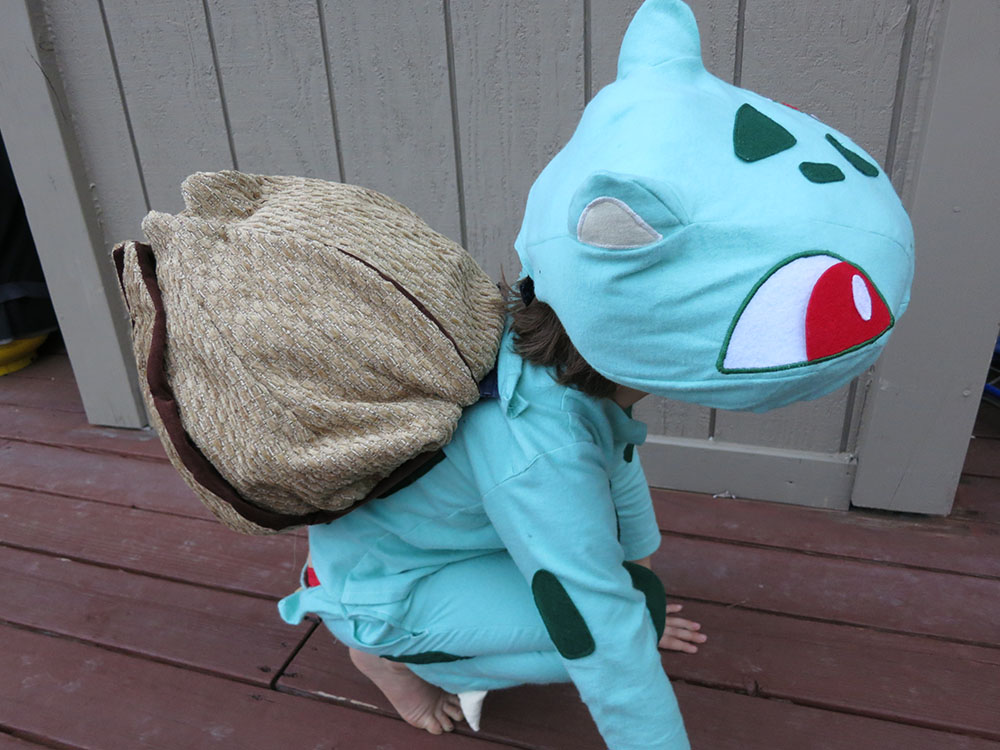


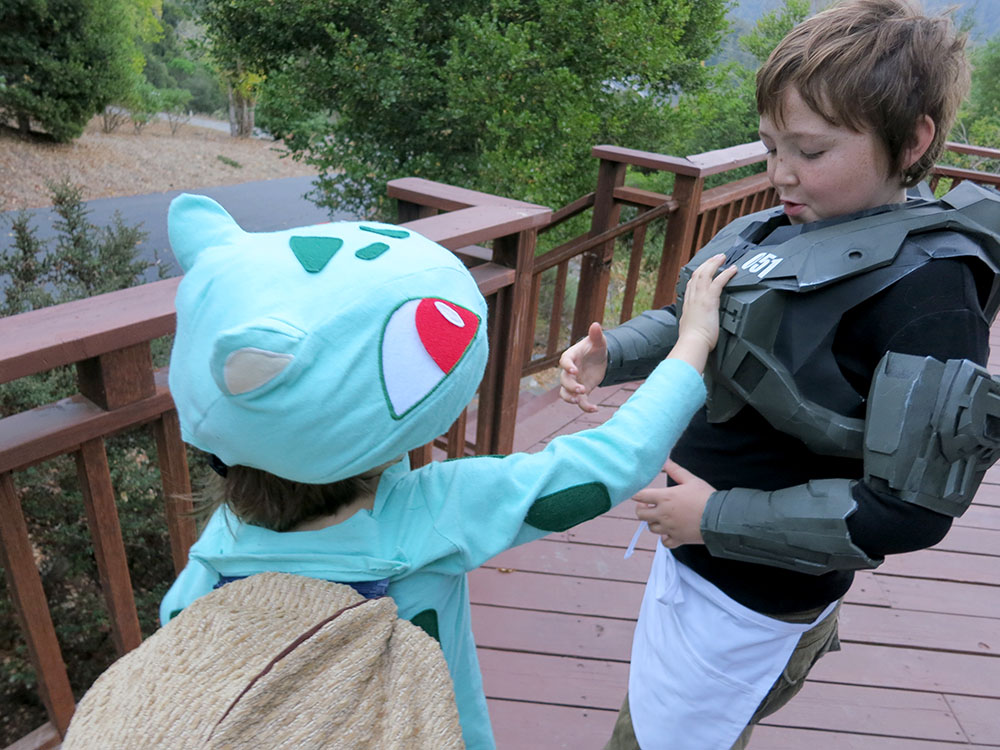
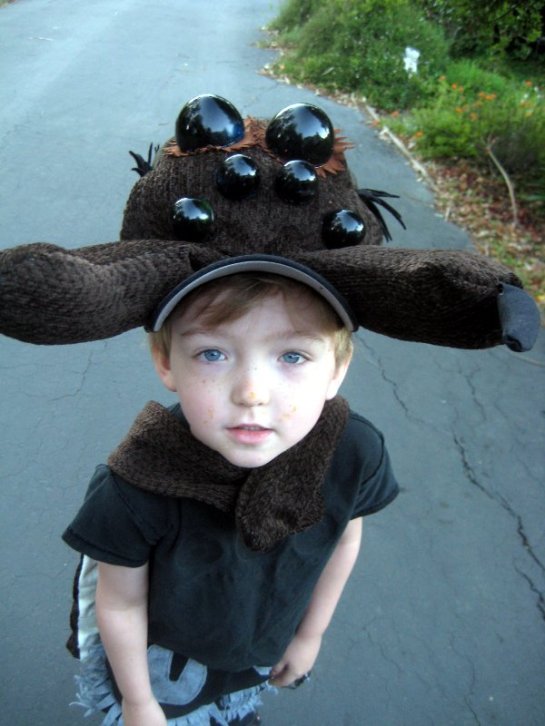
Simon really liked the costume. Fuzzy, Comfortable, and Cute. So apart from the zipper and crotch failures, this one was a success. Here is a video of Simon taking the costume for a spin. I’m really proud that the face was recognizable as a Bulbasaur. The real question is, “Can a Bulbasaur take on a Halo Master Chef?”
“Bulbasaur, I choose YOU!”


