I like making lamps. You get to have fun playing around with light and shadow, they’re useful, and as long as you do it right you don’t burn down anyones house.
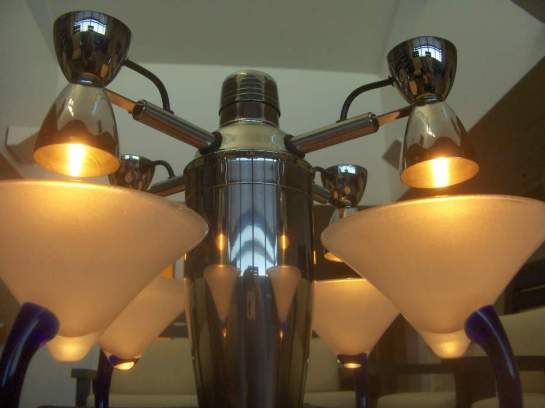
My friends got married, and I wanted to make a wedding gift for them. They are into bar paraphernalia. They even provided the wet bar at my wedding, so it seemed like a natural to make them something with a bar theme. I’ve made a number of lamps so I built them this lamp made from 4 jiggers, 4 martini glasses, and a martini shaker. Pushing the cap on the shaker acts as the off/on pushbutton for the light, and the glasses are not fixed in place, so the lamp can be used to serve drinks!
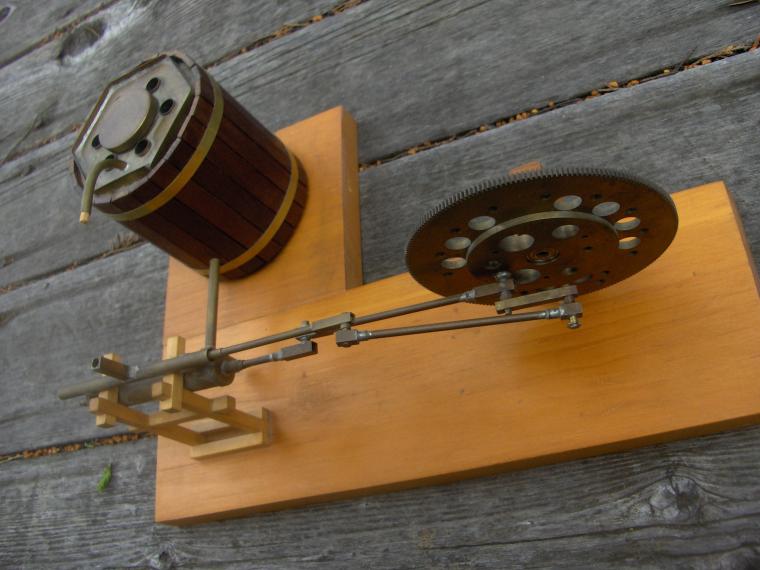
The basic idea is sketched out
At first I didn’t have a plan, so I poked around the web looking at various shakers, jiggers, tongs, juicers, strainers, etc. I noticed that the bell shaped jigger looked like it would make a nice bulb enclosure. I wanted to do a low voltage halogen lamp for it’s nice warm light, so I needed something big enough to hide the power supply. A shaker fit the bill nicely, and it seemed like glasses could act as the light diffusers. I also realized that maybe the glasses didn’t have to be fixed in place so people could actually drink out of them! I originally thought of making a base out of a serving tray, but had trouble finding one that looked nice, and was thick enough to hide the wires. So I eventually opted to fabricate a solid wood base.
Building Details
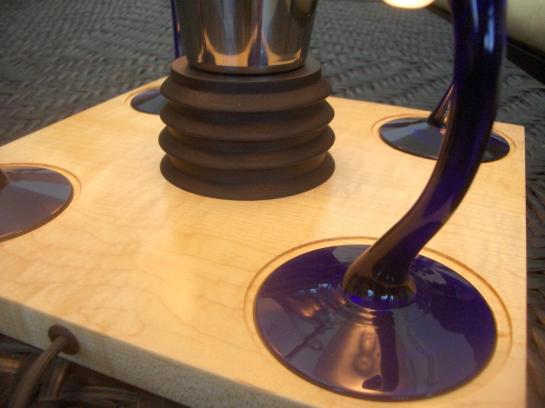
 I used a push button toggle under the shaker’s cap to provide the on/off switch. I routed the circular recesses in the base so that the whole base could act like a big coaster. The recesses are stepped to form 2 concentric rings the inner matches the base on the glasses, the outer adds a nice additional detail. The recesses help keep the glasses in a nicely aligned position. I needed a way to put the shaker up above the base (so it would be at the right hight above the glasses) so I opted make a faux rubber bellows by cutting disks from particle board, gluing them up, turning them, and then painting the whole thing mat black.
The bulbs are 10W halogens that plug into ceramic sockets that are riveted into the jiggers using rivets I formed from lengths of brass tubing. There was a lot of fiddly small hole drilling through the jiggers since I had to drill 2 holes for the wires, and 2 for the rivets. I also had to avoid drilling out the spot welds that held the jiggers together. The wiring is co-axial 16 gage power cord wire from the surplus store (from a laptop power supply.) I just wanted nice black circular cross section 2 conductor wire that was thick enough. That fit the bill.
Building The Arms
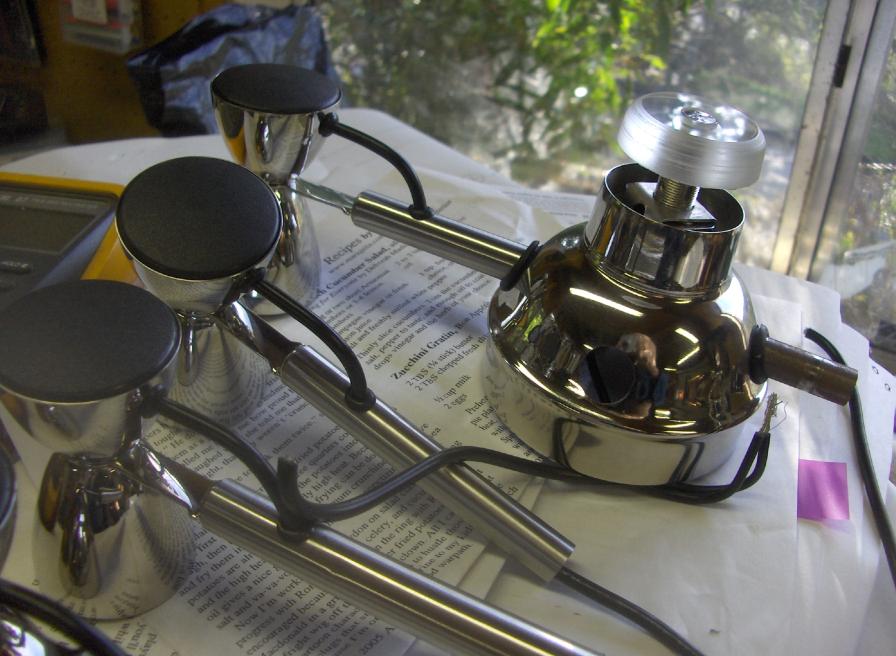 I had to build a special jig so that I could center drill a passage into each of the jigger handles. I also machined some tubes that could be bolted together to form a + shape with each of the jigger handles sliding over an arm of the plus, and wires going through channels inside the + to meet at the center. That’s what keeps the arms from drooping, and keeps then at a nice even 90 deg spacing.
 The wires emerge inside the jigger and meet up with the fuse, switch, and power supply. The wire passes through 2 small grommets, and the whole jigger handle feeds through a big grommet into the main body of the shaker. That gives all the connections a nice professional feel. I hope the rubber doesn’t degrade to quickly because the final assembly of that sucker was a lot of octopus wrestling.
The base was made from some nice figured wood that I found by picking through the boards at Home Depot. Hey, only $2.80 a board foot for wood with a lovely figure. I biscuit joined two consecutive sections of the board to make a sort of pseudo book match. The recesses were cut using the router, a circular template, and a collar. I made the template by cutting a hole in some particle board using one of those single point circle cutters. Actually I think I cut 5 holes before I got the diameters just right.
A few rounds of sanding and polyurethaning the lamp was basically done. I bead blasted the interiors of the glasses to make them a nice diffuse white. It wasn’t that complicated a project, but the stainless, and the grommets really give it nice professional feel. About the only thing I’d change is that the push button I used was one I got at Radio Shack, and frankly the action on it is clunk-clunky. Not that slick a feel. I could have gone around to the various surplus places and found one that had a nicer action, but hey it works.


The original page in the Internet Archive.