

Pioneer squirms on the hot driveway.
Have you ever wondered if you could use a magnifying glass to melt sand into glass? I have a very large Fresnel lens that a coworker gave to me when I worked at SGI. Using it is kind of scary. I keep it covered while I’m carrying it around so as not to accidentally set something on fire. I’ve used it to burn wood, but I wasn’t quite sure if it could melt sand. My son Pioneer had been begging me to try it out. This morning we went to the beach, and he insisted on bringing home a bucket of sand. It was time to give it a try.
The first step was to unearth the lens. Pioneer was a bit confused when he first saw it because he thought it would be round with a long handle ready to be gripped by an eight-story-tall Sherlock Holmes. I had to explain how a Fresnel lens works, including how it lets you have a big lens that’s not eight inches thick at the middle. Then we spent a while washing it off because it was quite dusty from years spent under the house lonely and unused.
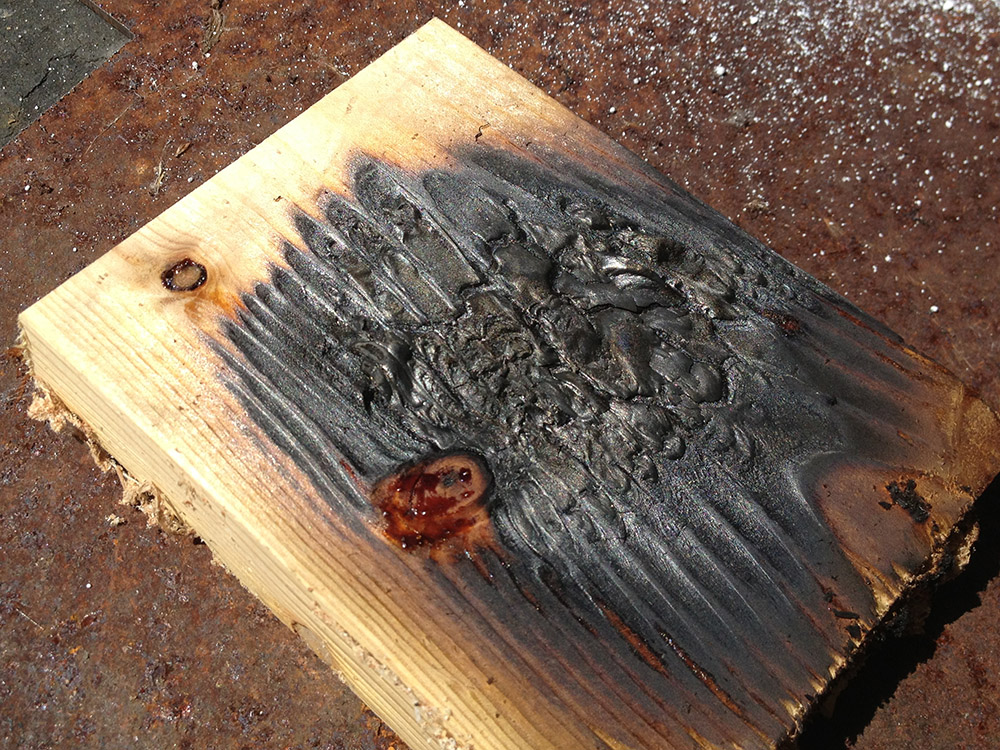 I put a small chunk of wood out so we could have an easy and spectacular target to use for lens-aiming practice. I put a steel plate under it to protect the driveway. Once we’d mastered our half-blind welding helmet and giant lens ballet, we were ready for the big show. Ok, I admit it was more like the Hokey Pokey than ballet. “Put your right arm down. Put your left arm up. Put your right arm in and stop shaking all about. You do the Hokey Smokey and you burn wood on the ground. That’s what it’s all about.”
 I was a bit worried that we wouldn’t have any sort of fluxing agent to lower the melting point of the sand, but my wife had just been experimenting with different low-allergy washing combinations and she had both borax and washing soda on hand. What luck! Time to give it a try. We put a few spoonfuls of sand/washing soda/borax on the end of a soda can, donned our welding helmets, and fired it up.
 Pointing that much sun at things can be pretty spectacular. You can burn, melt, and pop things. It’s easy to get all Gallagher. In contrast sand is quite good at taking the heat. Instead of a big plume of smoke or a loud popping sound you get a very slow and silent melting action. In the end, we managed to make some smallish green globs of glass. I think Pioneer was disappointed, but we were really limited by how long we could stand there with our arms in the air. If we wanted to make more, I’d have to make some sort of frame to hold the lens flat and pointed at the sun.
 Still I think it was a success. We did manage to make some glass, even if it’s not ready to go in a chandelier.


