My son Pioneer has been going to Rock-It Science camp. He loves it SO much. He calls it “make it and take it” because he gets to build a lot of things and bring them home. When he heard they were going to have a Van der Graaf generator, he assumed they were going to be building them and bringing them home. He was rather disappointed when he found out they were just going to watch one in action. I cheered him up by telling him we could build one ourselves.
Of course I don’t know why I’m building this thing. I do not like electrical shocks. When I was in college, I worked at The Mellon Institute of Battery Technology (MIBT), and I spent enough time troubleshooting weird electrical devices that I would sometimes get shocked. I realized I was using classical conditioning to make me not like my job. If instead the devices had been handing out food pellets, things would have been a lot nicer. Building a device that is pretty much guaranteed to dispense a fair number of electrical shocks seems on the face of it to be a bad idea.
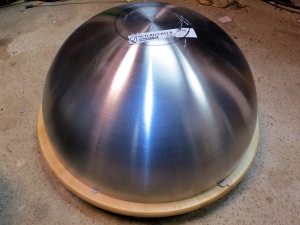
 We did have some cool stainless steel bowls from Ikea that had been been whispering to me about how they wanted to be high voltage electrodes. I decided to take a trip to Ikea specifically to shop for Van der Graaf Generator parts. And thus the Van Dö Kraff project was born. I was originally going to go for the 11″ bowls like we had at home, but when I got to Ikea I couldn’t help but notice the awesomeness of the giant 14″ bowls. I also wanted to get some sort of base for the project and saw that they had a nice wooden lazy Susan that was just the right size to go with one of the bowls to make a base. Plus who can say no to a Snudda!
I had a secret reason for wanting to get the lazy Susan. In order to build the generator, I’d have to cut a hole in two of these great big bowls. They were never going to fit in my lathe, and although I could cut the holes out by hand, it would be somewhat sloppy and imperfect. I realized that if I had a lazy Susan I could use that as an improvised lathe. This lathe -e- Susan worked super well. Here’s what we did:
 Center the bowl on the lazy Susan using fun tack. I just spun the bowl and used my finger to find the closest point to the edge and then nudged the bowl over until it was running without a lot of wobble. Then I mounted a cutting disc in the Dremel tool and brought it in contact with the bowl tangent to the circle I wanted to cut out. The spinning of the cutting disc caused the table to spin, making the disc cut a perfect circle. My son helped me with this by using his finger as a drag to keep the bowl from spinning too fast. He also helped once the disc had cut though in some areas by turning the bowl around manually to the parts that hadn’t cut though. I used up 4 discs cutting the first hole and 3 more doing the second. I think with a little practice you could get it down to maybe 2, but you have to be very careful when the disc first cuts all the way though. It’s very easy to have the discs shatter then.
My son loved the exploding discs. He thought that was the best part!
Once the hole is fully cut out, you can switch to a sanding drum to smooth out any sharp burs and presto! Perfect holes! I used two random boards and a clamp to make an improvised steadying rest for my Dremel tool. Here’s a short video showing the cutting. Remember to keep the discs level and tangent to the cut.
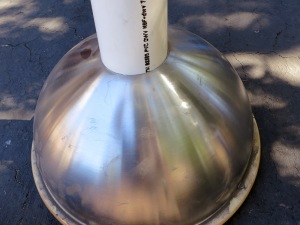
 As you can see, you can get a very close fit using this system. I used a Sharpie to make lines and test with the piece of pipe until I was close, and then just double checked the size once I got a groove started. Be careful to approach the line you want from the inside since you can make the hole bigger but not smaller.
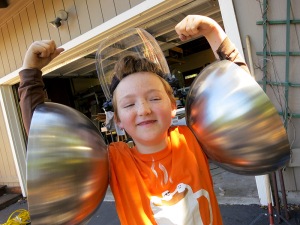
Here’s ElectroMan declaring the very first stage of this silly project a success!


