
I’m a big fan of Tove Janson and her lovingly illustrated kids’ books about the Moomins. When a coworker sent me a link to a set of Moomin-themed stacking stools that had apparently never come to market, I thought “I bet I could make a set of stools like that in one night!” I’d been working a bunch of long hours, and a goofy one-night project seemed like it would be a nice diversion. Should I have taken on another project instead of finishing up the Van de Graaff generator? I don’t pretend to be fully in control of which projects I work on when. I looked online for some cheap stacking stools, and they were soon Amazon Priming their way to my house. I crossed my fingers that the stools would have legs that could be removed so I could fit the seats in the laser cutter. Thankfully, they did.
 I laser cut a piece of cardboard to act as an alignment jig. Then I used the laser’s raster mode to etch the designs onto the seats. The plan was to etch the design on, then use paint and a squeegee to make the designs stand out. I’d used that trick before when making the seals for the Retrotechnologist society with good results.
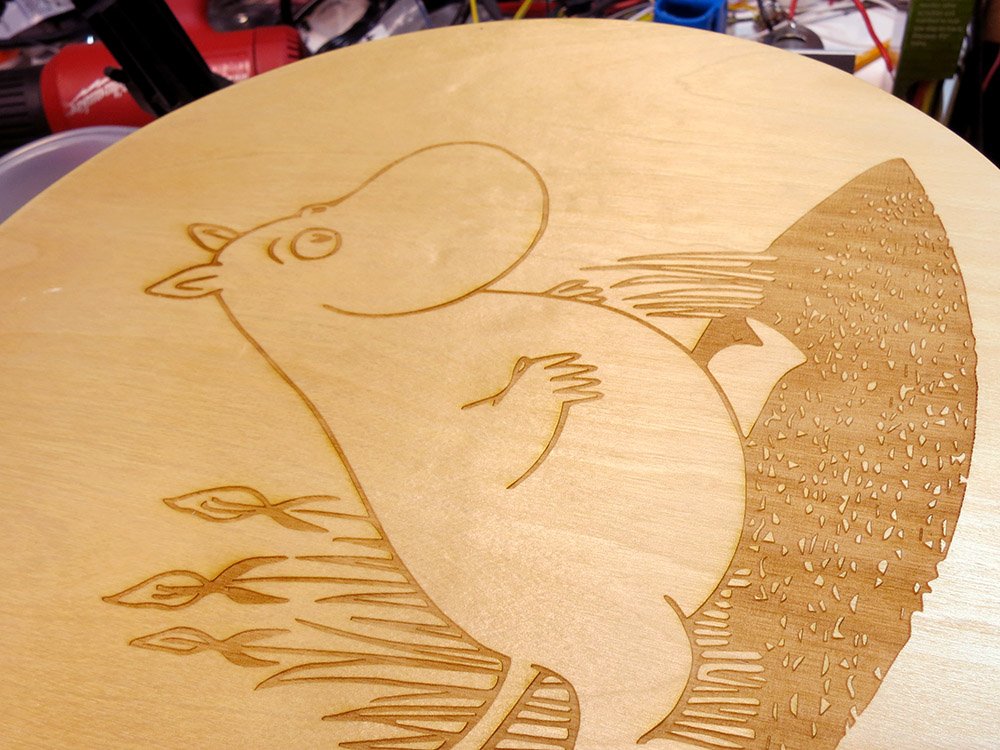 After etching Moomintroll, I began to wonder if painting would be necessary. He looked good, and I’d even managed to orient the wood grain so it serendipitously lined up with some of the reeds in his little patch of water. Maybe this project was going to be even simpler then I thought!


When I etched Little My, she looked good from some angles but terrible from others. The orientation of the wood grain had somehow made her very viewpoint dependent. Here’s a little video of the laser etching and her Cheshire Cat magic trick. Clearly she was going to need the paint treatment. I finished etching them and headed home to apply the paint. When I did, I got a nasty surprise!
 The stools where cheaply made; the clear coat was uneven and had lots of tiny holes which the black paint was happy to highlight! Would I be able to make them look okay with some scrubbing and sanding? I hoped so. I applied paint to all but the Moomintroll stool. He was so lovely without paint that it felt really risky to slather him in black, but I didn’t want him looking different and getting all self conscious. So I took the plunge and smeared on the black paint. Then I went in the house to scrub my blackened hands and go to bed. All the while wondering if this project could be salvaged. Had I been working on a one-night disaster?
So much for only taking one night
 The next morning, I tried various tricks to see what could save these stools. I tried sanding with a flat block and 220-grit paper. Finally it seemed like the best results where achieved by just scrubbing like mad with a wet scrubby sponge. Snufkin’s stool had the worst surface, but since his scene was at night, the splotches didn’t seem that out of place. I had to apply some paint fixes after some over-zealous sanding. I applied the paint in ways that added to the figures so any mismatch with the background would look intentional, like shadows and folds instead of random patches. I used the red sable brush I saved up for when I was in high school. It’s still my go-to brush, and it has seen a LOT of use.
 Thankfully Moomintroll’s clear coat seemed to be the best of the lot, so he didn’t have too many bad specks. I was also able to take a more painterly approach to cleaning the beach scene stool. I scrubbed the dune crests more so they’d be lighter and even left some of the dark surface paint in place on parts of the ocean.
I got them to a point where I was no longer embarrassed about the look, and then I brushed on a quick clear coat of Minwax polyurethane semigloss. I use that finish on a lot of my projects, so I already had some on hand. It’s tough and fairly forgiving.
 After they dried, I put the legs back on. You can see the little felt patches that keep the stools from scratching each other when they’re all stacked up.
A long time ago, I bought a giant pack of 160 self adhesive felt pads with foam tape on one side. They’ve come in very handy on a lot of projects. They’re on the bottom of the Van de Graaff generator, and I knew I’d have to put some on the stool feet.
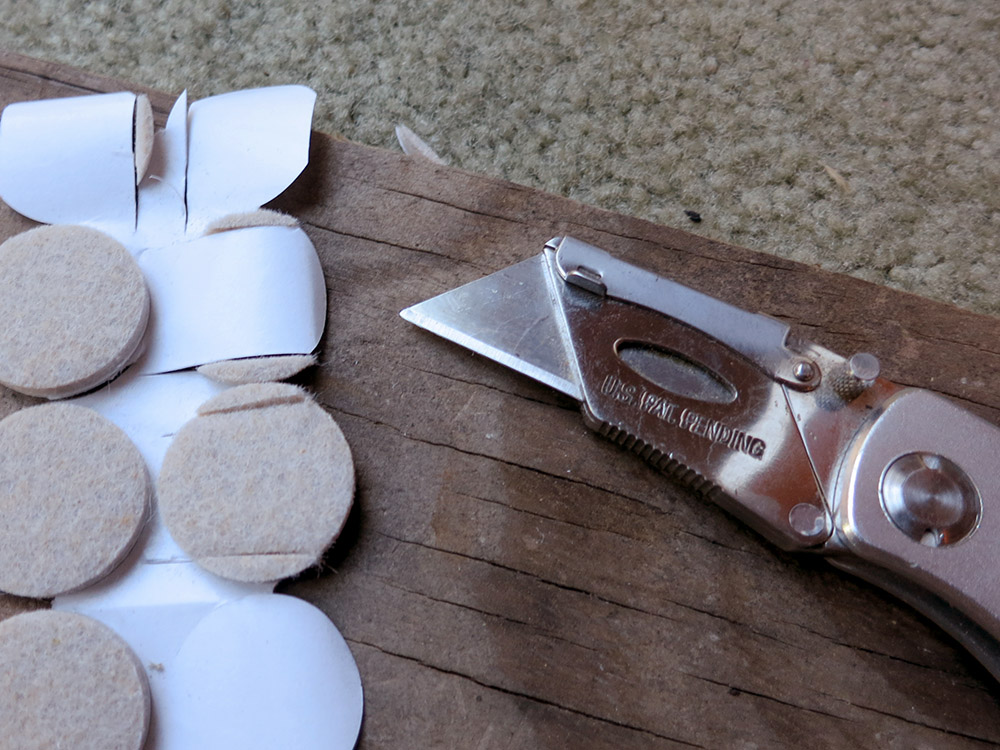 The pads were a bit too big for the stools, so I got out the razor knife and started trimming them to size. Once those were on, it was time to try the stools out! First for slacking, and then for stacking.
I guess when all’s said and done, I wasn’t satisfied with the results of this project. The black specks that no one else seems to notice really bother me. The stools aren’t super comfortable, and we didn’t strictly need more seating around the house. I can’t declare it a resounding success, but it was quick, and they may come in handy. Who knows.


